By now, the secret of the Baking Steel is not much of a secret. The word is out that this project, started on Kickstarter by Andris Lagsdin after reading a review Nathan Myhrvold’s Modernist Cuisine: The Art & Science of Cooking, is the “most impressive home pizza product [J. Kenji Lopez-Alt at Serious Eats] ever tested.” Pizza lovers everywhere are trading in their stones for these well-made (and really heavy) sheets of steal.
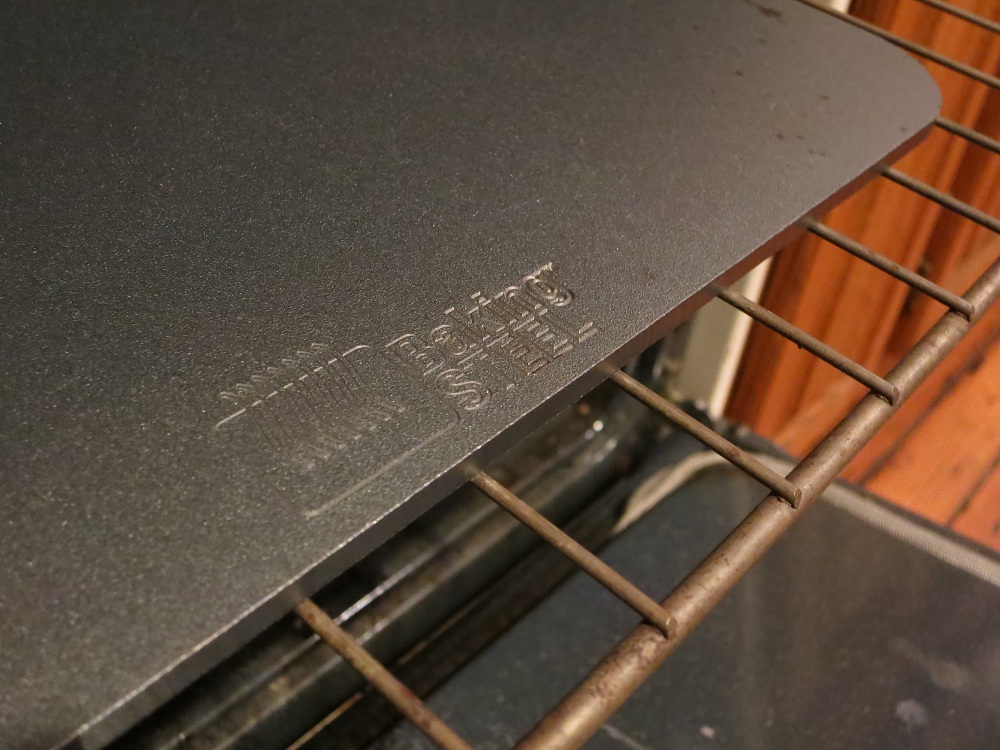
I got mine for Christmas (thanks Tania!) and it has been an incredibly useful tool as I’ve begun to explore the world of bread baking. As I try and try again with my bread baking, I’m learning more about cooking than I have in years. And as good (or bad) as some of the breads I’ve made are, I hadn’t put the baking steel to its real intended purpose: making pizza.

Lots of dough makes for the best kind of party: pizza party!
And so it was, a couple of weeks ago, that it finally came time to put the steel to the true test. Turning once again to my bread making guide, guru Peter Reinhart, I selected the recipe for neo-Neopolitan dough from his book American Pie. The recipe makes enough dough for four to five small-ish pizzas, so Tania and I decided to have a mini pizza party. We invited over a few friends, with us providing the dough and sauce (Mid’s of course!) and everyone bringing their own toppings.
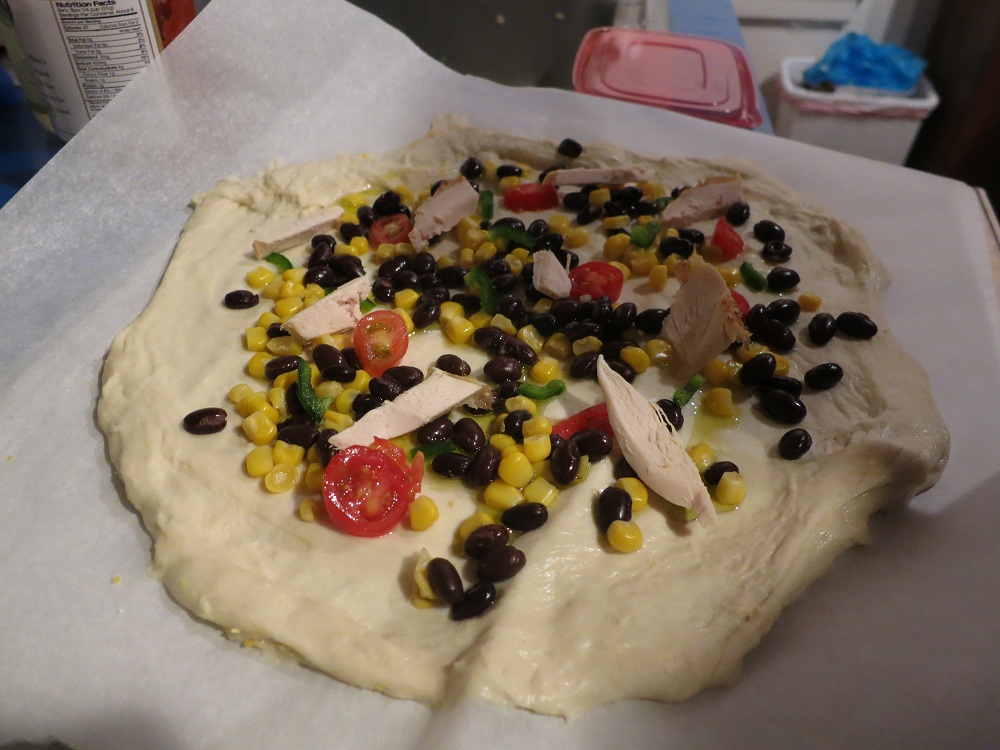
Luke and Theresa’s Jimmie’s Chicken Shack inspired pizza…or something like that.
The topping combinations were interesting ones, ranging from the traditional, the healthy southwestern (Luke and Theresa’s chicken, black beans, corn, and tomatoes), and the unusual (Ron brought salmon – for a salmon/pepperoni pairing).

Ron’s pepperoni and salmon pizza. An unusual, and interesting, combination.
The baking steel worked wonders, the bottoms of each crust were lovely. The bottoms were a perfect combination of dark and light spots, with a nice crisp and crunch to it. If there were any flaws, it was the fault of the dough maker. (It is after all, a poor craftsman who blames his tools.)

Thanks to the baking steel, the bottom of the crusts was a perfect combination of light and dark.
Lest you think I only blog about my overwhelming successes, I’ll be the first to admit that the dough didn’t meet my admittedly high expectations. While the baking steel did its job, I failed in several ways when it came to mine. First, I made the dough too wet, making it virtually impossible to shape properly or consistently. That resulted in the odd amoeba-shaped pizzas you see depicted. Additionally, the top of the dough never darkened as I hoped. Instead of a nicely browned cornice, mine remained pale throughout. And I never got the nice air pockets that feature prominently in so many pictures of a successful neo-Neopolitan dough.
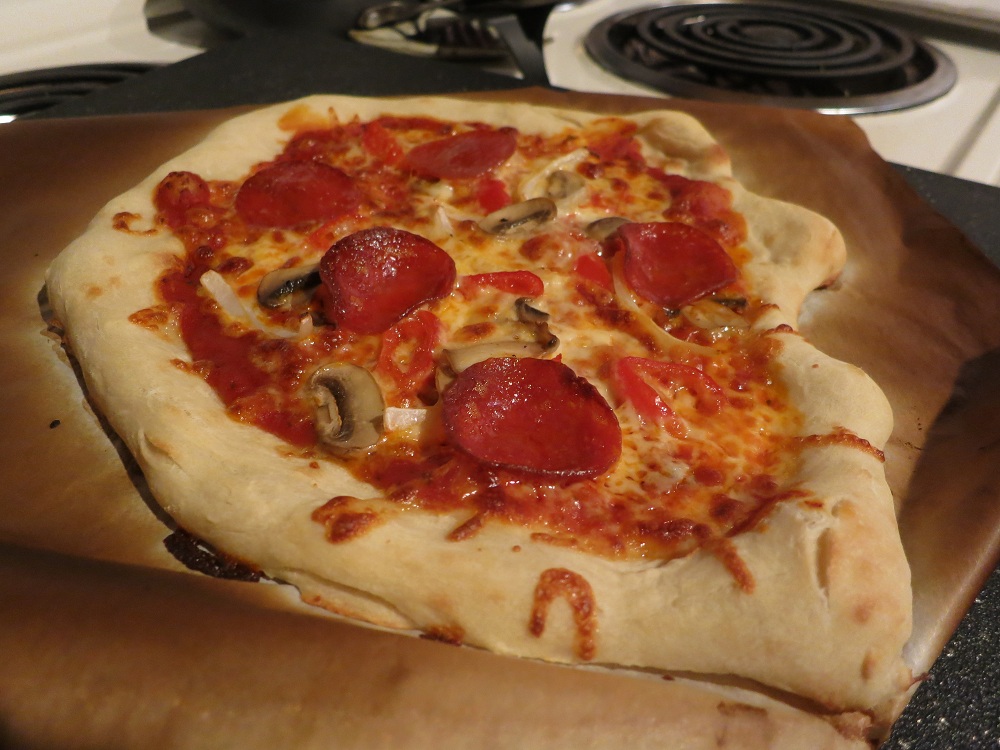
A disappointingly pale cornice. I think my oven needs to be hotter. Or I need more practice.
One tip I learned belatedly, is when you have a dough that’s too wet and stick to work by hand, use gravity instead. Place the partially shaped dough on parchment paper, and drape it over the side of your counter. As gravity begins to stretch it out, rotate it, letting physics serve as your pizzaiolo.
Peter Reinhart’s neo-Neopolitan dough from American Pie
5 cups (221/2 ounces) unbleached high-gluten or bread flour (I used bread flour)
1 tablespoon sugar or honey
2 teaspoons table salt or 3 1/2 teaspoons kosher salt
1 teaspoon instant yeast
2 tablespoons olive or vegetable oil or solid vegetable shortening
1 3/4 cups plus 1 tablespoon room-temperature water (70°F)
1. Stir together all the ingredients in a 4-quart bowl or the bowl of an electric stand mixer until combined. If mixing with an electric mixer, fit it with the dough hook and mix on low speed for about 4 minutes, or until all the flour gathers to form a coarse ball. Let the dough rest for 5 minutes, then mix again on medium-low speed for an additional 2 minutes, or until the dough clears the sides of the bowl and sticks just a little to the bottom. If the dough is too soft and sticky to hold its shape, mix in more flour by the tablespoonful; if it is too stiff or dry, mix in more water by the tablespoonful.
If mixing by hand, repeatedly dip one of your hands or the spoon into room—temperature water and use it much like a dough hook, working the dough vigorously into a coarse ball as you rotate the bowl with your other hand. As all the flour is incorporated into the ball, about 4 minutes, the dough will begin to strengthen; when this occurs, let the dough rest for 5 minutes and then resume mixing for an additional 2 to 3 minutes, or until the dough is slightly sticky, soft, a supple. If the dough is too soft and sticky to hold its shape, mix in more flour by the tablespoonful; if it is too stiff or dry, mix in more water by the teaspoonful.
2. Divide the dough into 4 (or five) equal pieces. Round each piece into ball and brush or rub each ball with olive or vegetable oil. Place each ball in its own zippered freezer bag. Let the balls sit at room temperature for 15 minutes, then put them in the refrigerator overnight or freeze any pieces you not be using the next day. (Or, if you are making the pizzas on the same day let the dough balls sit in the bags at room temperature for 1 hour, remove them from the bags, punch them down, reshape them into balls, return them to the bags, and refrigerate for at least 2 hours.)
3. The next day (or later the same day if refrigerated for only 2 hours), remove the balls from the refrigerator 2 hours before you plan to roll them out to off the chill and to relax the gluten. At this point, you can hold any balls you don’t want to use right away in the refrigerator for another day, or you can freeze them for up to 3 months.
That’s the recipe from American Pie (which I highly suggest you pick up for yourself – it’s not just a cookbook. It’s an ode and love song to pizza generally.) You can find a similar, but slightly different, recipe here at Peter Reinhart’s own website.
The pizza dough wasn’t the only moderate success of the day either. As a favor to Luke, I had attempted a sugar cream pie. He had once proclaimed that such pies were his favorite, but that they were often hard to come by. Always up for a challenge and interested in trying something new, I scoured the internet for a suitable sugar cream pie recipe.

Lots of sugar, lots of milk and cream.
The problem was, there are tons of recipes for sugar cream pie out there. And many of them are wildly different. White sugar only, brown sugar only, assorted combinations thereof, bake the cream, cook the cream on the stove and pour into a pre-baked crust, no two recipes were the same. I couldn’t even try to discern common techniques and use my own experience to figure out the best parts of each to create some sort of Voltron-like uberrecipe. So I picked one that sounded good generally and went with it.

Sugar cream pie, fresh from the oven.
When the pie emerged from the oven it looked and smelled great. When we cut into it though, it had a weird layer effect going on. The bottom quarter/half of an inch or so was much firmer and less creamy than the remaining top of the pie. It still tasted great, but the different consistencies created a slightly odd mouthfeel. Additionally, I should have known better, but even after halving the amount of cinnamon it called for to be sprinkled on the top, the flavor of the spice was almost over powering.
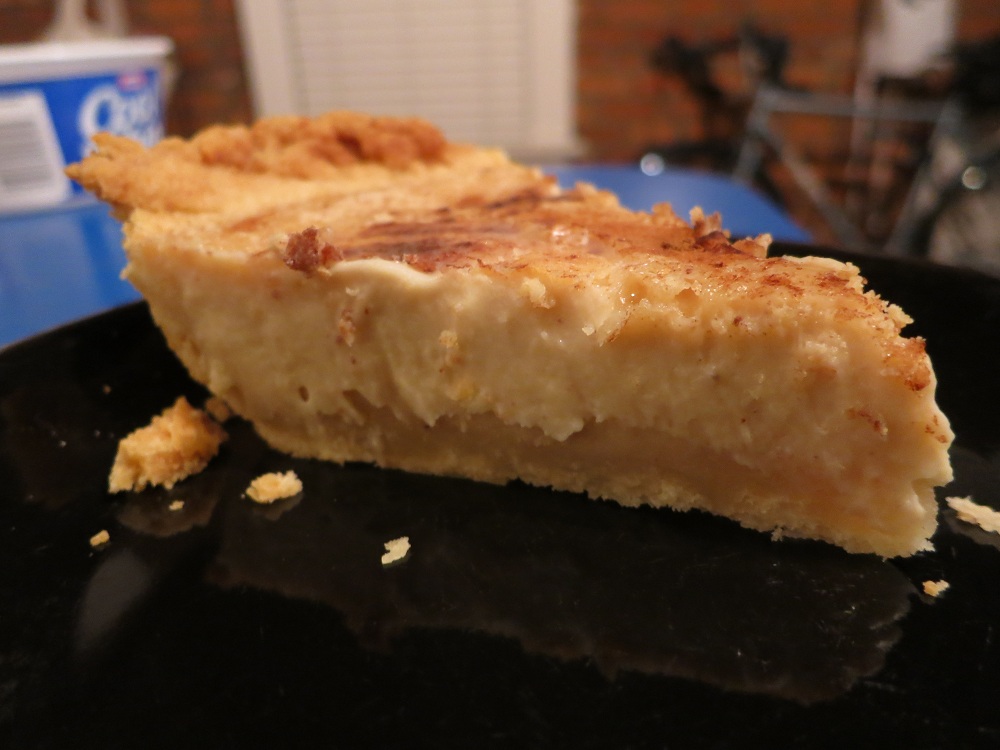
You can see the odd layering on the pie. Any ideas as to why?
I’m not against trying sugar cream pie again, but honestly, I’m partial to fruit pies anyway. So it might be a while before I have another go at it. That being said, if anyone has any suggestions (particularly if you have a traditional family recipe you know and love) let me know!

To get higher temps, you’re gonna have to skip the parchment. It’s only good to about 450, then it’ll ignite, and nothing trying to be neopolitan should be less than about 800F. Interesting though, I haven’t tried the steel surface yet.
Good to know about the parchment. It was unfortunately mandatory this last time–I had made the dough way way too wet and it would have been impossible to work with otherwise. I’ll definitely keep that in mind next time.
You should definitely try out the steel if you get the chance. Everything I’ve read says that while the steel won’t ever get as hot as you need it to be, the higher conductivity of the metal makes a big difference.
(Also, I love your blog btw. I think your approach and focus on process, precision, and the why/how things work is fantastic.)